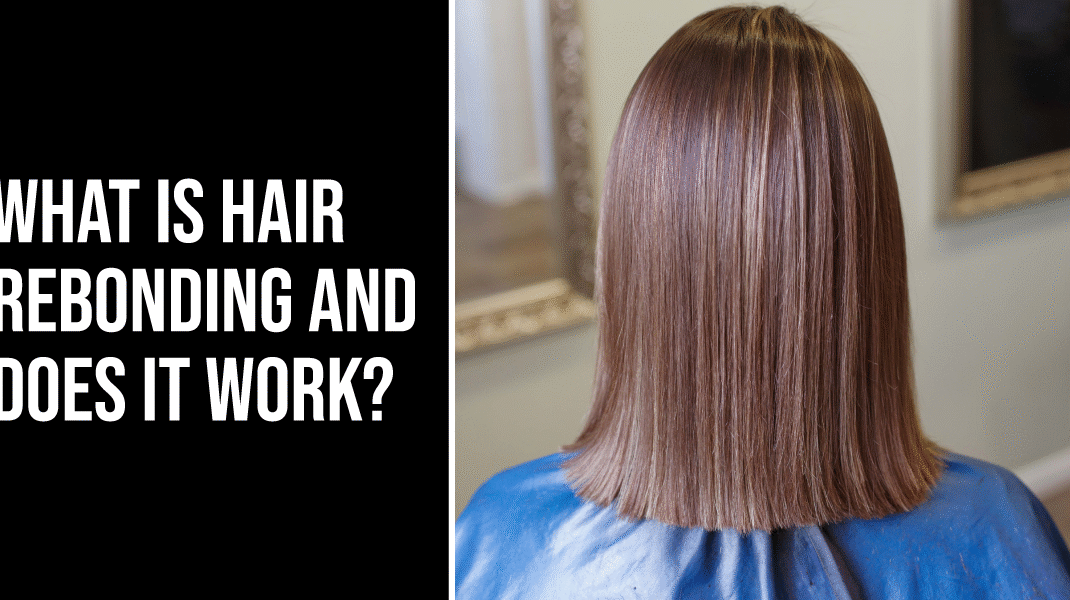
If your hair feels hard to manage, looks frizzy most days, or has curls that don’t stay in place, it can get frustrating. You may spend a lot of time trying to straighten it with heat tools, but the results don’t last long. That’s why many people start looking for a long-term solution to get smooth, straight hair. Hair rebonding is one of those options people often consider.
Here, we’ll explain everything step by step in detail, so you know exactly what it is, how it works, and if it’s the right choice for you.
Here we go now.
What is Hair Rebonding?
Hair rebonding is a chemical treatment that changes your natural hair structure. It breaks the natural bonds in your hair and then rebuilds them in a straight shape.
Your hair has natural bonds that decide if it is curly, wavy, or straight. In this process, a stylist softens those bonds using chemicals, then straightens your hair using heat, and finally locks the new straight structure with a neutralizer.
The result is smooth, shiny, straight hair that looks very polished.
How Does Hair Rebonding Work?
Hair rebonding is a step-by-step process, and each step is important to get smooth and straight results. It takes time and should always be done by a trained professional because chemicals and heat are involved.
Let’s go through it in detail so you understand what actually happens during the treatment.
Step 1: Hair Analysis
First, the stylist carefully checks your hair. They look at your hair type, how thick it is, and if it is healthy or damaged. This step helps them decide which products to use and how strong the treatment should be. If your hair is too weak, they may suggest waiting or doing a repair treatment first.
Step 2: Washing
Your hair is then washed properly to remove oil, dirt, and product buildup. Clean hair helps the chemical work evenly on every strand. Usually, conditioner is not used at this stage because the hair needs to stay ready for the next step.
Step 3: Applying Relaxant
Now the main process starts. A chemical cream, often called a relaxant, is applied to your hair. This cream breaks the natural bonds in your hair that make it curly or wavy. The stylist applies it evenly and leaves it for a specific time based on your hair type. This step must be done carefully to avoid damage.
Step 4: Rinsing and Drying
Once the relaxant has done its job, your hair is washed thoroughly to remove all the chemicals. After that, your hair is gently dried. At this stage, your hair becomes soft and flexible because the natural structure is already broken.
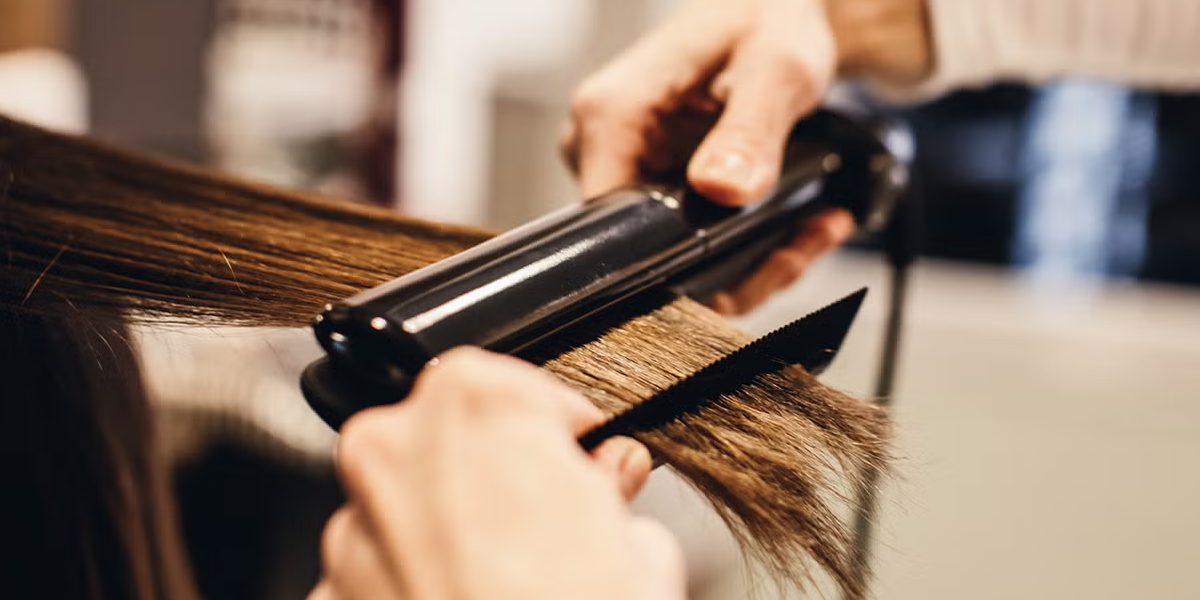
Step 5: Straightening
Now the stylist uses a flat iron to straighten your hair section by section. Small parts of hair are taken and pressed slowly to make sure each strand becomes straight. This step shapes your hair into the straight form you want.
Step 6: Neutralizer
After straightening, a neutralizer is applied. This is a very important step. The neutralizer rebuilds the hair bonds and locks them in the new straight shape. Without this step, your hair would not hold the straight form.
Step 7: Final Wash and Styling
Finally, your hair is washed again to remove the neutralizer. Then it is dried and styled. At this point, you can clearly see the smooth, straight, and shiny result.
Pros and Cons of Hair Rebonding
| Pros | Cons |
|
|
Total Time Required for Hair Rebonding
The whole process usually takes around 3 to 8 hours. If your hair is long or very thick, it may take more time. It is a slow process because each step needs proper care and attention to give the best results.
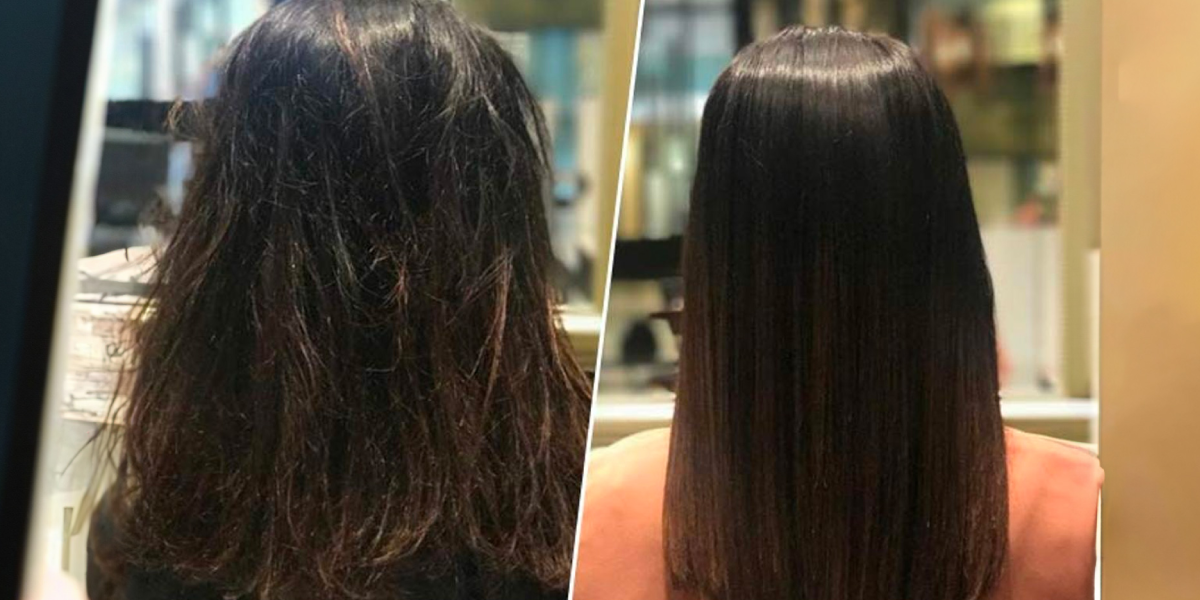
Hair Rebonding Before and After
Many people are curious about hair rebonding before and after results. Before the treatment, hair may look frizzy, rough, or curly. After the treatment, it becomes straight, smooth, and shiny.
The difference is usually very noticeable. Your hair looks more polished and easier to manage. But keep in mind, the new hair that grows later will have your natural texture.
Is Hair Rebonding Safe?
Hair rebonding is safe when done by a trained professional and when your hair is healthy enough. But it does involve strong chemicals.
Possible risks include:
- Hair dryness
- Breakage if over-processed
- Scalp irritation, if not handled carefully
So, always go to an experienced salon and avoid doing it on already damaged hair.
Hair Rebonding Cost
In the USA, the price of hair rebonding mainly depends on your hair length and thickness, the salon you choose, the stylist’s experience, and the products used.
On average, –
- short hair can cost around $150 to $300,
- medium hair around $300 to $600,
- and long or very thick hair can go from $500 up to $1,000 or even more in high-end salons or big cities.
Smaller or basic salons may offer lower prices, but premium salons charge more because they use better products and have more experienced stylists. The final price is not fixed, so it’s always best to get a consultation first, where the stylist checks your hair condition and tells you the exact cost before starting.
How to Care for Your Rebonded Hair
Taking care of your hair after the treatment is very important. Good rebonded hair care keeps your hair smooth and healthy.
Here are simple tips:
| First 3 Days Matter |
|
| After That |
|
| Regular Care |
|
Good care makes a big difference in how long your hair stays nice.
Who Should Consider Hair Rebonding?
Hair rebonding is a good choice if:
- You have very frizzy or curly hair
- You want straight hair every day without styling
- You are ready for proper hair care
Avoid it if:
- Your hair is already very damaged
- You have heavy hair fall
- Your scalp is sensitive.
|
At Salon Essentials LA, we care about your hair with trusted, high-quality products made for real results. Call us now at 5042144089 and let us help you choose the best hair care for your needs today. |
FAQs
|